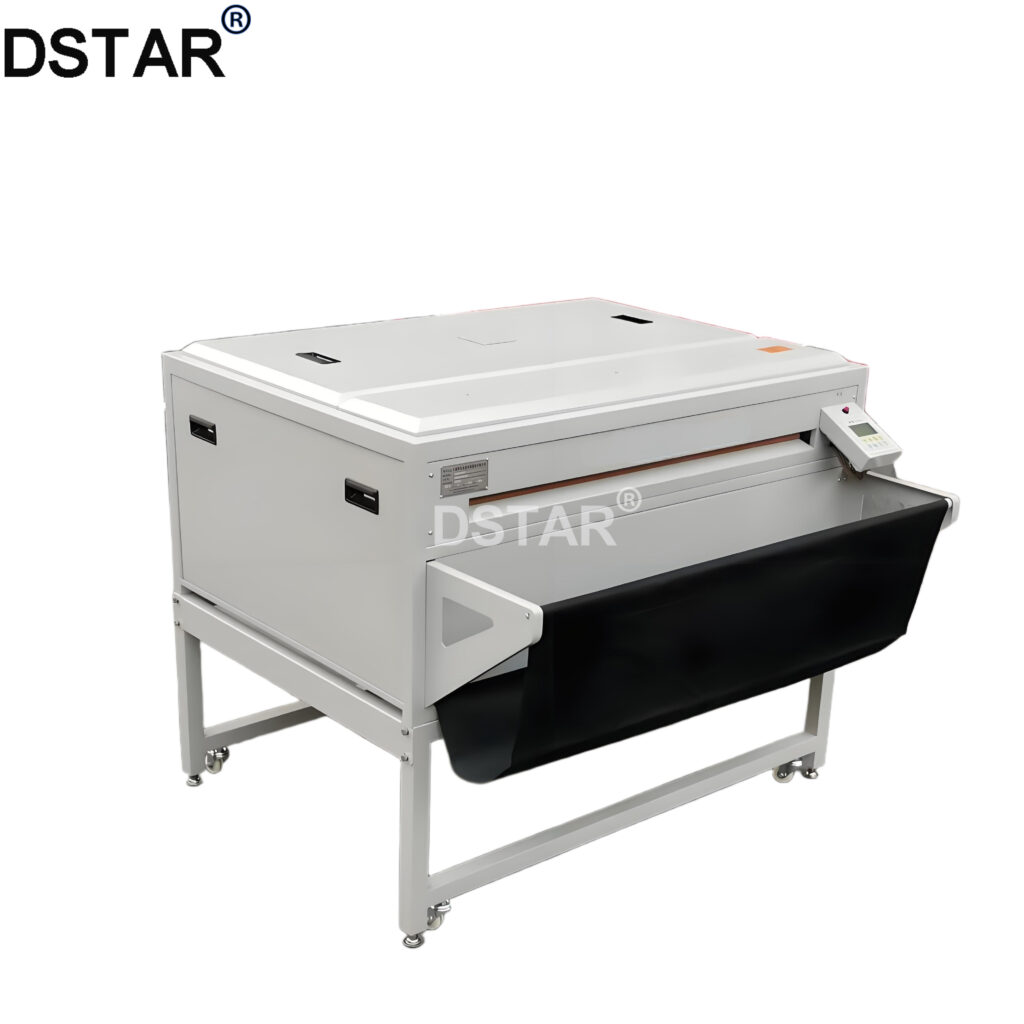
Automatic Printing Machine Manufacturer
Introduction to Printing Film
Introduction to Printing Film
Navigate the essential knowledge of printing film—from core concepts to advanced color separation techniques, step by step.
01. Basic Concept of Printing Film
Understand the “negative” of printing—its role as the foundational carrier that transfers graphic designs onto various substrates with precision.
02. Application & Process Differences
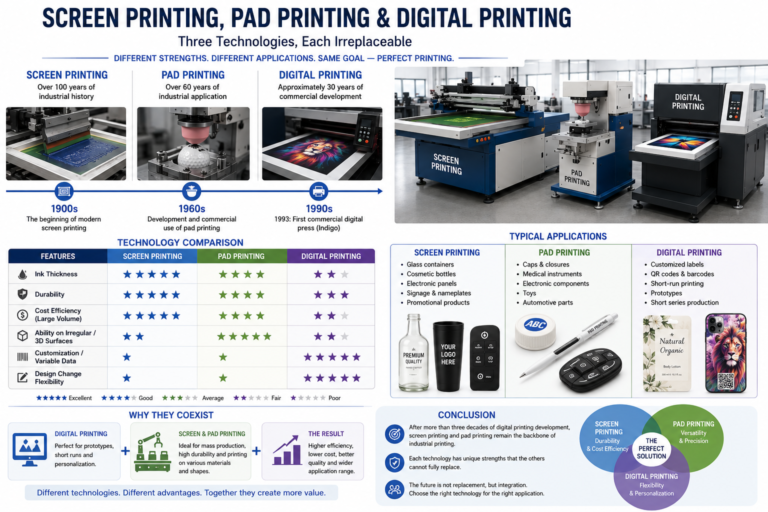
Explore Offset, Screen, Pad, Gravure, and Relief Printing—analyzing their unique advantages, suitable scenarios, and core operational differences.
03. Full Production Workflow
Trace the complete journey of printing film creation: starting from optimizing design files for print compatibility, through film output and development, all the way to strict final quality inspection (including density checks and defect verification) to ensure production readiness.
04. Core Equipment & Tools
An overview of the indispensable hardware and software for professional film making. Learn about image setters, film processors, precision measuring instruments, and the industry-standard software used for pre-press preparation and film output.
05. Color Separation Essentials
Master CMYK workflows, spot color applications, and critical rules for selecting the right color mode to avoid printing errors.
1.Basic Concept of Printing Film
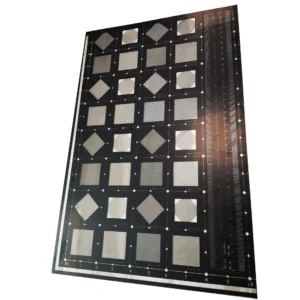
Printing film (also known as offset film or printing negative) is a photosensitive transparent film used in pre-press plate-making. It acts as the “negative” of the printing world, serving as the crucial bridge that translates digital designs into physical printing plates.
⚡ Key Functions: The Heart of Pre-Press
Image Carrier
Exposes design patterns and texts to form precise dot graphics, preserving the fidelity of the original digital artwork.
Plate-Making Master
Serves as a master template to create physical printing plates, enabling accurate pattern transfer for mass production.
💡 In short: Without printing film, the leap from your screen to a printed page would not be possible.
2.Application & Differences in Printing Processes
Before we dive into each process, let’s clarify some key definitions that will help us understand the nuances of film usage in various printing techniques.
Positive Film
The graphic area is transparent, while the background remains solid black. This format is essential for processes where light needs to pass through the design elements onto the substrate.
Negative Film
Contrary to positive film, the graphic area is solid black, and the background is transparent. It is widely used for screen printing and lithography where blocking light is the key.
Mirror Film
The image is reversed left and right, creating a “mirror” effect. This is critical for techniques like pad printing or heat transfer, where the image must be flipped to appear correct on the final product.
Normal Film
The image is presented in its original, non-reversed state. This is the standard format for most direct printing methods where the film is used as a direct reference or for non-transfer applications.
💡 Key Takeaway:These fundamental distinctions are critical to selecting the correct film type, directly impacting the accuracy, quality, and success of your chosen printing process.
Film Application Comparison Table
Compare the film types, screen rulings (LPI), and core application scenarios of five mainstream printing processes to provide an intuitive decision-making basis for product process selection.
🖨️ Offset Printing
🎞️ Positive | 🔍 Mirror
📏 Common screen ruling: 175–200 LPI
It transfers images via a blanket cylinder, offering precise color reproduction. It is widely used for high-volume printing of books, color boxes, and large-format posters.
● Pad Printing
🎞️ Negative · Normal | 📏 LPI: 100–175 | Core: Etched printing plate transfer
A printing process specially designed for curved or irregular surfaces. It enables clear and durable pattern printing on shaped products such as toys and electronic device housings, offering strong adaptability.
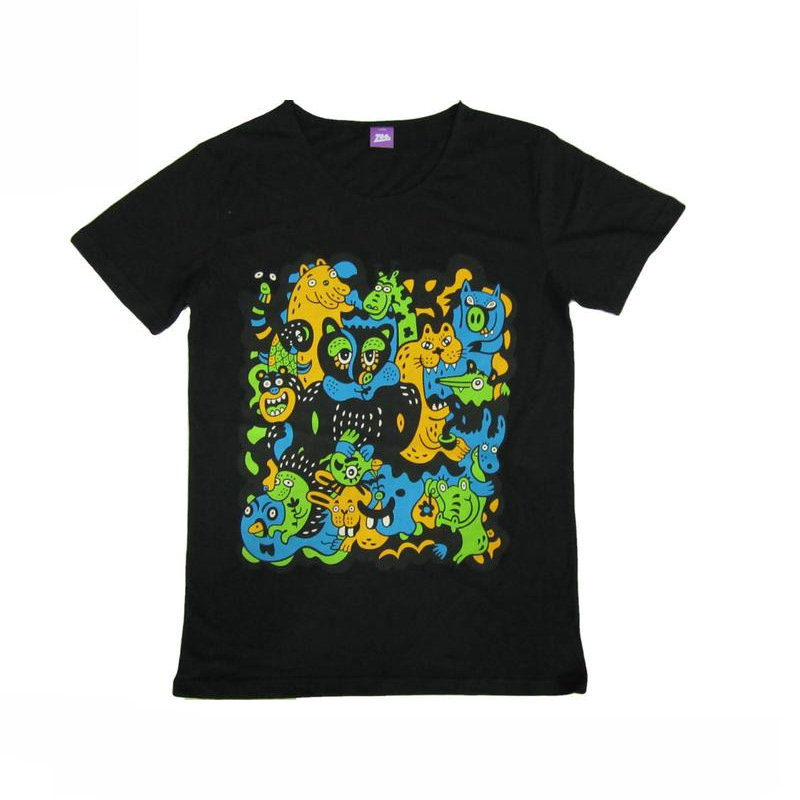
🎨 Screen Printing
🎞️ Negative | 🔍 Mirror
📏 Common screen ruling: 80–150 LPI
It uses a film to block UV light for screen exposure. It is suitable for printing logos or special textures on glass, garment fabrics, and various rigid surfaces.
⚙️ Gravure & Relief Printing
Gravure printing: Positive / Mirror (175–300 LPI)
Letterpress printing: Negative / Normal (120–175 LPI)
Gravure printing controls ink volume through the depth of its engraved cells, making it the first choice for flexible food packaging.
Letterpress printing features a thick, three-dimensional ink layer and is widely used for quick printing of commercial paper products such as self-adhesive labels and envelopes.
Offset Printing: The Cornerstone of Commercial Print
Film Specification
RequiresPositive, Mirror Imagefilm. This is critical because the ink transfers from plate to blanket to paper, flipping the image twice to produce the correct final orientation.
Indirect Process
The inked image is first transferred from a metal plate to a rubber blanket, then onto the substrate. This “offset” method reduces wear on the plate and delivers clean, crisp impressions.
Resolution (LPI)
Standard is175–200 LPI. This line screen density ensures sharp, detailed images and smooth color gradients, setting the quality benchmark for professional color printing.
Key Applications
Ideal for high-volume jobs needing consistent quality: books, magazines, retail packaging (color boxes), posters, and corporate brochures are all perfect candidates for offset printing.
Film Type
Utilizes Negative Film or Normal Image to block UV light and form precise stencils.
LPI Standard
Operates at 80–150 lines per inch, balancing detail and ink deposit for optimal coverage.
Core Mechanism: From Stencil to Substrate
The negative film blocks UV light during exposure, forming a stencil on the mesh. Ink is then forced through the unblocked mesh openings using a squeegee, directly transferring the design onto the material below.
Versatile Applications Across Industries
Perfect for textiles (T-shirts, hoodies), glass, plastics, and metal. Widely used for branding, promotional items, and durable outdoor signage due to its resilience.
Pad Printing
The printing magic from flat surfaces to curved ones, giving unique brand marks to irregularly shaped objects.
Film Type
🎞️ Negative · Normal
Supports high-precision plate-making and transfer of conventional images.
LPI Range
📏 LPI: 100–175
Ensures color fidelity while also achieving high printing precision.
Core Process
The principle is similar to screen printing, where a film is first used to etch the printing plate. The core lies in using a soft silicone pad that picks up ink from the etched plate and then, like a stamp, flexibly transfers the pattern onto the surface of objects of various shapes.
Applications
This is the best printing solution for curved, irregular, or tiny surfaces. It is widely used for printing brand logos on toy models, precision electronic components, various writing instruments, and hardware accessories, easily adapting to various substrates such as plastic and metal.
Film Specification
Uses Positive Film with a Mirror Image. This is essential for creating the precise etched pattern on the printing cylinder.
Resolution (LPI)
Operates at 175–300 LPI (Lines Per Inch). This high resolution ensures exceptional detail and smooth tonal gradients.
The Gravure Process
The film is used to etch recessed cells (grooves) onto a cylinder. These cells hold precise amounts of ink, which is then directly transferred onto the substrate. This direct contact ensures sharp, consistent results even over extremely long production runs.
Key Applications
Renowned for its durability and high-quality finish, it is the standard for flexible packaging (plastic films, food pouches) and high-security printing such as banknotes and stamps. Perfect for large orders demanding uncompromising quality.
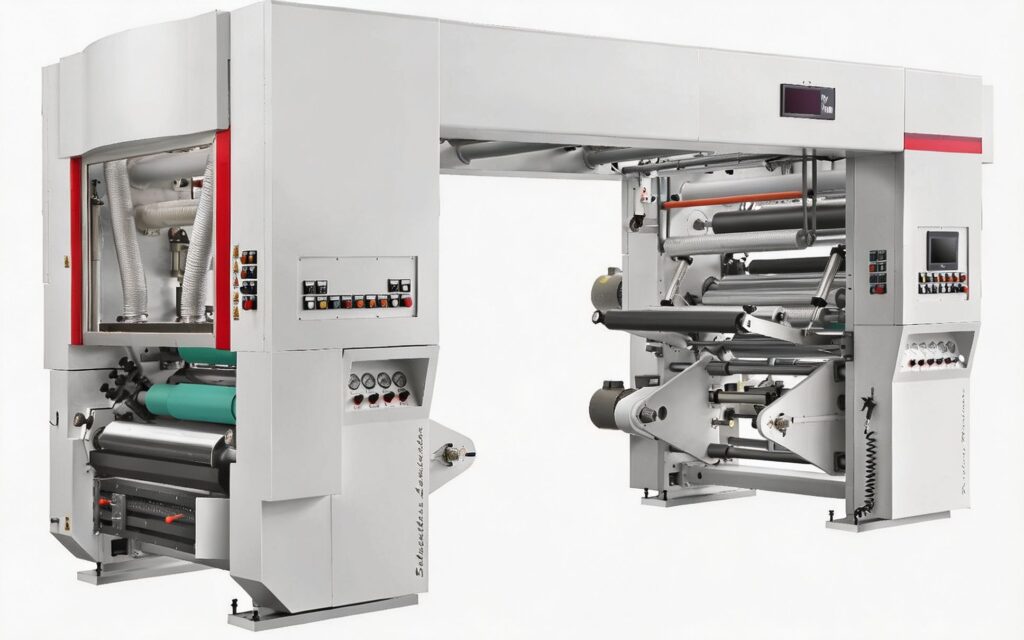
A large-scale rotogravure printing machine configured for high-speed production on plastic films, showcasing the robust engineering required for continuous, high-volume manufacturing.
Letterpress printing is Evolved from the ancient movable type printing, it uses a raised printing plate to achieve a unique tactile and visual effect, making it a classic choice for label and packaging printing.
Film Type
Using negative film and conventional image film, it serves as the core base material for making letterpress printing plates, determining the accuracy of image reproduction.
LPI Standard
The standard screen ruling is set between 120 and 175 LPI, a parameter that achieves an optimal balance between image detail reproduction and production efficiency.
Core Process
Film is used to create a printing plate where the image areas are raised above the non-image areas. Ink only adheres to the raised surface and is directly pressed onto the substrate under pressure, forming a unique texture with physical thickness.
Key Uses
With its thick and tactile ink layer, it is widely used for self-adhesive labels, envelopes, business cards, and hot foil stamping plate production, making it the preferred process for pursuing high-end texture.
01. Design File Preprocessing
Convert artwork to CMYK color mode and add essential bleed lines, crop marks, and registration marks. Save the final design in a print-ready format like high-resolution PDF or TIFF to avoid any compatibility errors in downstream processes.
02. RIP Processing (Raster Image Processor)
Transform vector graphics into printable halftone dots using professional RIP software. Critical parameters like screen angles and LPI (Lines Per Inch) are calibrated here to eliminate moiré patterns, preserving the integrity of fine details in the original artwork.
03. Laser Imagesetter Exposure
In a darkroom, a laser scans and exposes the processed image onto light-sensitive film, creating a latent dot pattern that serves as the blueprint for the printing plate.
04. Film Developing & Fixing
Following exposure, the film is fed into an automatic processor. This machine executes a precise chemical sequence: first developing the latent image, then fixing it to make it permanent, followed by thorough washing and drying. This step stabilizes the halftone dots and ensures the film is dimensionally stable, ready for the next stage of plate making.
05. Quality Inspection
The final film undergoes rigorous checks for scratches, dust, or imperfections. Technicians use magnifiers and densitometers to verify dot integrity, density values, and the accuracy of color separations and registration marks. Only films passing this stringent QI proceed to plate production.
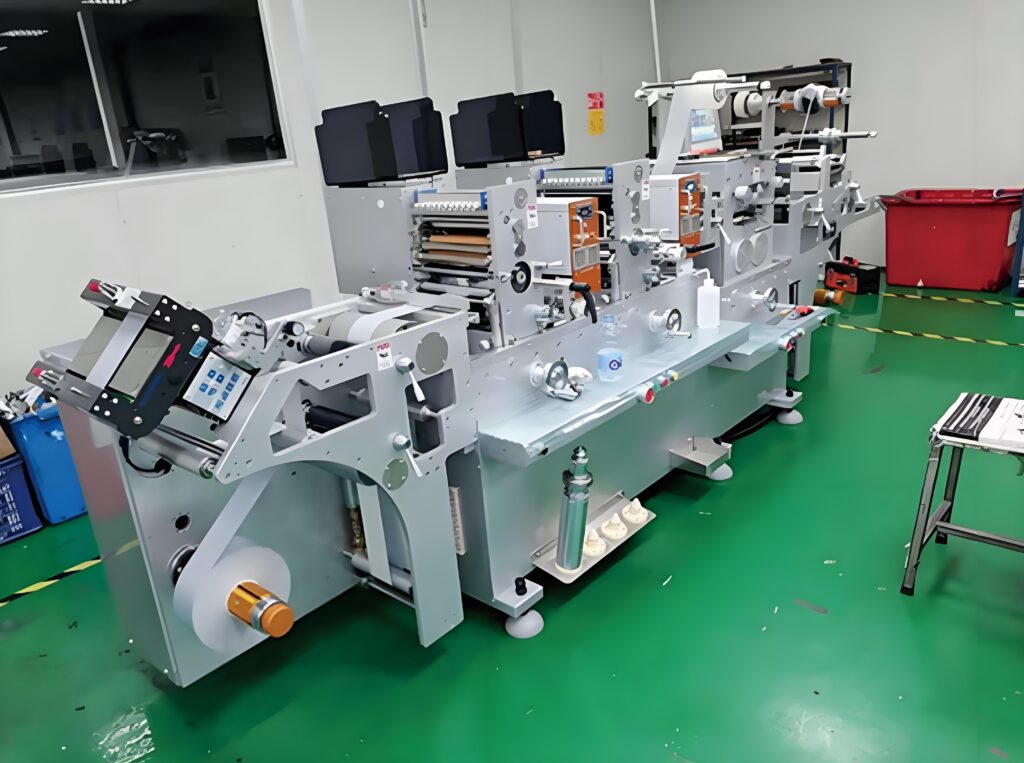
Film Production Process Flow
Streamlining Manufacturing: From Preparation to Final Quality Inspection
This visual guide breaks down the essential stages of film production, illustrating a meticulous workflow designed to minimize defects and ensure consistency. From foundational material preparation to the final visual assessment, each step plays a critical role in delivering high-performance film products.
📌 Workflow Schematic: A step-by-step visualization of the core production pipeline.
Film Defoaming→Film Cleaning
From high-precision imaging to quality control: the essential gear for professional film production workflows.
🔹 Laser Imagesetter
The cornerstone of film output. It renders high-precision film with a resolution of 2400–4000 DPI, ensuring every detail and fine line is perfectly reproduced for offset printing plates.
🧠 RIP Software: The Digital Command Center
An indispensable bridge between design and hardware. RIP (Raster Image Processor) software converts complex vector graphics and text into raster data, managing color separation (CMYK) and ensuring the imagesetter receives accurate, print-ready instructions.
🔹 Automatic Film Processor
The all-in-one workhorse for development. This machine seamlessly integrates developing, fixing, washing, and drying into a single automated cycle, eliminating manual errors and ensuring consistent, high-quality film processing every time.
🛠️ Testing Tools
Ensure print accuracy with magnifiers, densitometers for optical density checks, dot testers, and calibrated light tables for film inspection.
🖼️ Darkroom Auxiliary
Handle sensitive film safely with red safety lamps, precision cutters, and dust-free workstations to prevent contamination during processing.
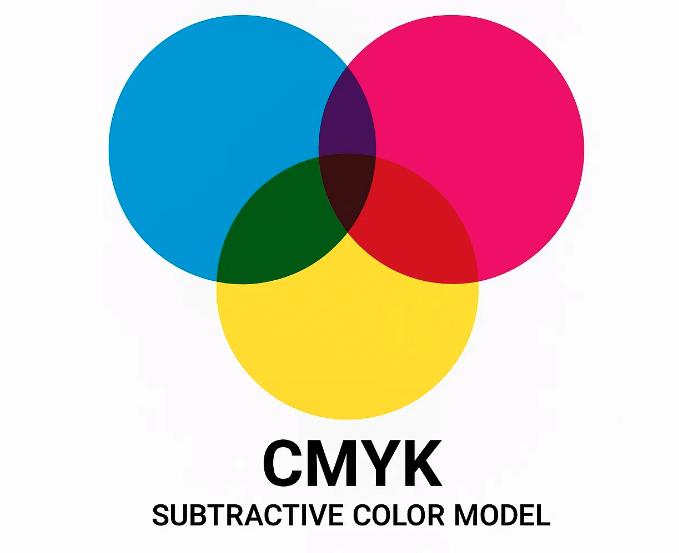
🎨 What is 4-Color Separation?
A full-color design is broken down into four independent films: Cyan (C), Magenta (M), Yellow (Y), and Key (K/Black). These four-color halftone dots are overprinted on the press to restore the original image colors, forming the basis of offset lithography.
📐 Standard Screen Angles (Anti-Moiré)
To avoid distracting moiré patterns, specific angles are used: Cyan at 15°, Magenta at 75°, Yellow at 90°, and Black at 45°. These angles ensure that the halftone dots overlap in a way that the human eye perceives a smooth, continuous tone.
💡 Why the “K” in CMYK? (Key Black)
The Black plate enhances dark tones, reduces heavy ink usage (which causes drying issues), and ensures sharp, crisp text in the final print.
Move beyond CMYK mixing—master the rules for professional color accuracy in commercial printing workflows
Spot Color Separation (Pantone Colors)
For hues that CMYK can’t replicate perfectly (e.g., metallic gold/silver, vibrant fluorescents, or strict brand PMS colors), we create an independent film/plate. This bypasses ink mixing limitations, ensuring the final output matches the color standard exactly, without any unexpected shifts.
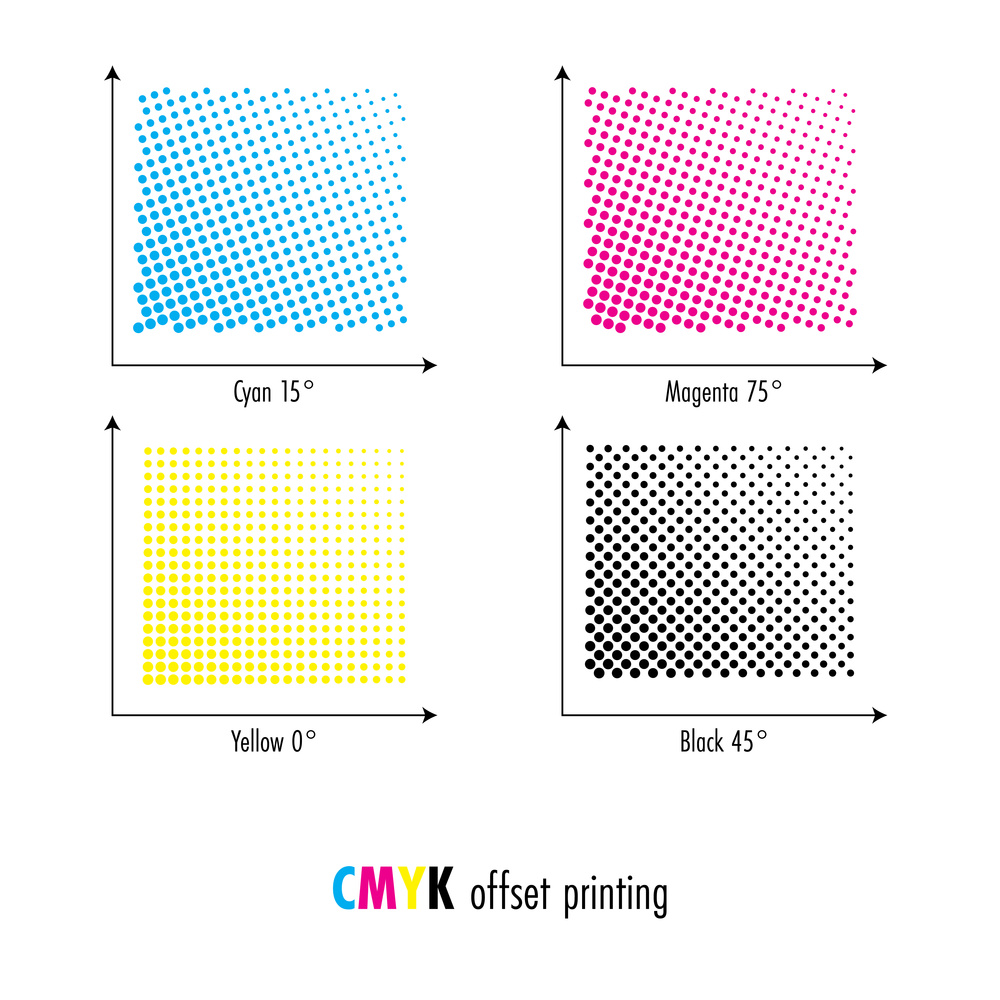
The diagram displays standard CMYK screen angles (Cyan 15°, Magenta 75°, Yellow 0°, Black 45°). Correctly managing these angles is critical to avoid moiré patterns, a common pitfall that undermines the quality of both process and spot color printing.
Golden Rule: Positive vs. Negative Film
🟢 Positive Film
Used for Offset & Gravure Printing. Ideal for high-volume, fine-detail production with precise color registration.
🔵 Negative Film
Used for Screen, Pad, Relief & Hot Stamping. Optimized for diverse substrates and special texture applications.