Automatic Printing Machine Manufacturer
FAQs
Why choose DSTAR?
What types of products can we offer?
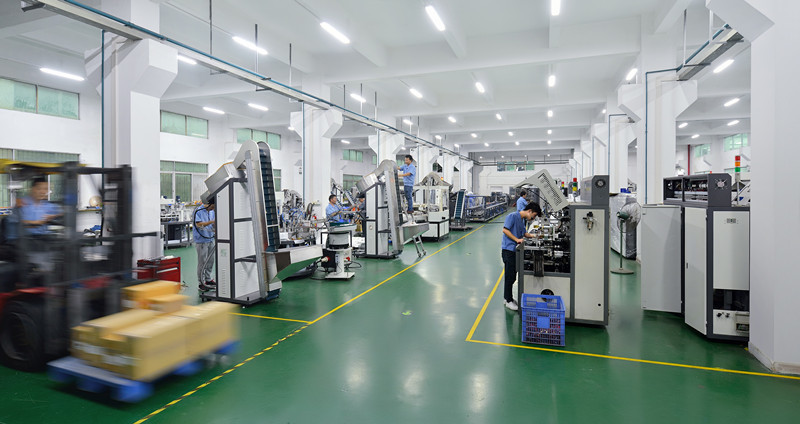
Shenzhen DSTAR Machine Co., Ltd. is committed to providing professional printing machines to customers worldwide. We focus on the R&D, manufacturing, and sales of automated printing machines. Our product range includes pad printers, screen printers, offset printers, thermal transfer printers, and hot stamping machines, which are widely used on plastic products. Our products have been successfully exported to many countries across five continents and have been widely applied in industries such as toys, labels, household products, stationery, and medical consumables with great success.
What logistics do we ship through?
Usually,we ship machines by sea via Shenzhen port or Hongkong port.The machine parts and printing supplies can be shipped by express.


Can it be customized as per our requirements?
Yes,we have technical team with rich experience to provide customization service.We can design machine according your printing requirements and functional requirements.
What is our ordering process?
Work Process
Project implementation process
1
STEP
Send your inquiry1.what product do you need?
2.if need machine,please share your printing detailed requirements.Like how much color printing,how much printing size,how much production ability.
3.sample product photo.
4.as much details as better
2
STEP
Proposal responseDSTAR company will check your inquiry and ask for related more detailed information if it’s not enough for us recommend a right machine proposal.
3
STEP
Sign ContractIf you agree with our proposal and price,we will sign contract or proforma invoice.Then buyer remit the downpayment to start order process.
4
STEP
Machine productionWe will start machine production and update status to buyer.The machine will be shipped after receiving buyer’s quality confirmation.
Have any Question?Welcome to contact us, we will reply you as soon as possible!
What services are included in the after-sales service?
- 1 Year Machine Quality Warranty since machine delivery to buyer
- Lifelong technical consultancy supports
- Free machine parts replacement if machine quality problem. (not include printing sumables)
Product category
Main products
Automatic printing machine and printing supplies
Successful applicated industries
- Toy industry
- Stationery Industry
- Garment accessories
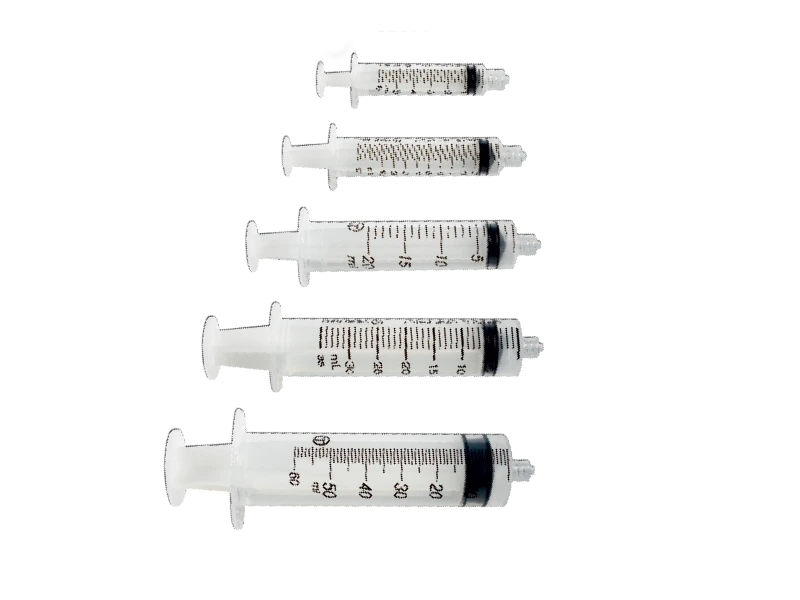
- Medical Supplies
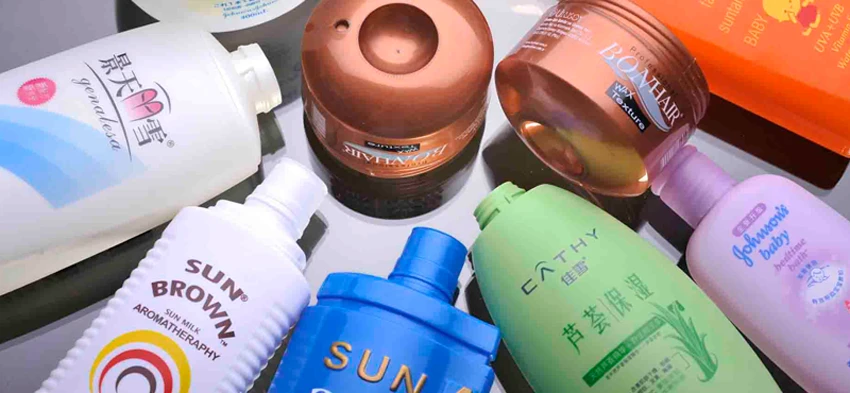
- Cosmetic Industry
- Beverage Packing
Can it be customized as per our requirements?
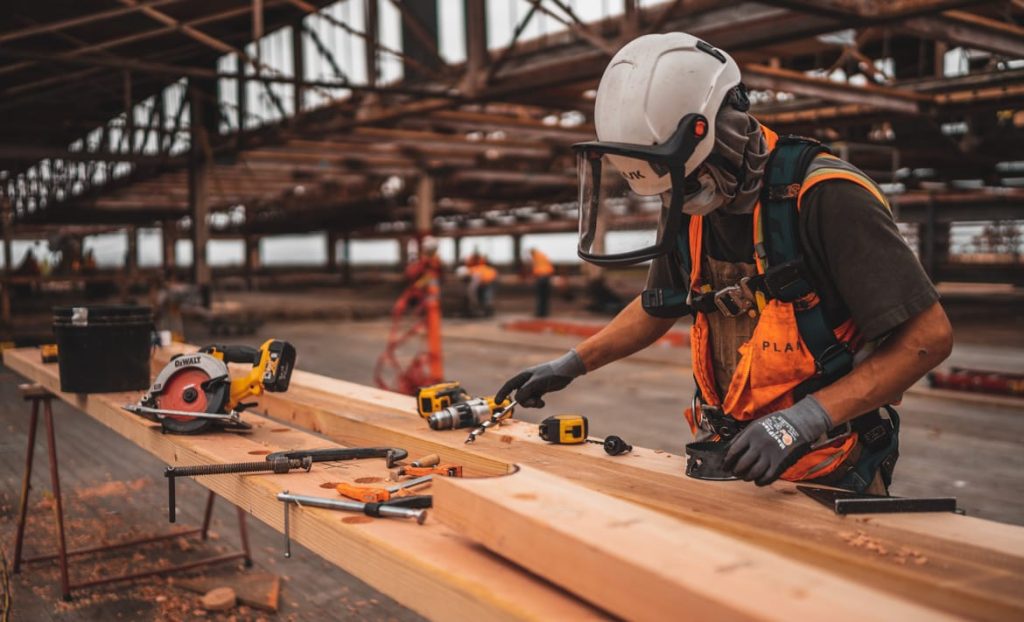
Make amazing 60-degree bevel cuts with our 8-1/4 in. SKIL Worm Drive Skilsaw model SPT78W-01. This Skilsaw is powered by our largest 15 amp Dual-Field™ high torque motor so you will make the last cut as precisely as you did the first cut. Exclusive 60-degree bevel. High torque Dual-Field™motor. Legendary SKIL durability.
How long time to lead the order
- Semi automatic machine 7 days
- Automatic machine (customized) 20-45 days according the function details
- Machine parts 1-4 days
- Printing supplies Ready to ship
What’s your payment term
- T/T
- 100% Irrevocable L/C at sight
- Paypal
- Alipay or Wechat Pay
Technical questions
How to mix ink?
How to Thin Pad Printing & Screen Printing Ink
Thinning printing ink isn’t just about adding “thinner.” Choosing the right type and ratio of thinner is crucial for achieving good print results.
Golden Rule: Always stir the ink thoroughly before adding any thinner. For two-component (2K) inks, mix in the hardener first, let it react for 10 minutes, and then add the thinner.
1. Choosing the Right Thinner (Fast, Medium, or Slow)
| Thinner Type | Best For | Key Benefit |
|---|---|---|
| Fast | Cold weather (≤15°C / 59°F), high print speeds, non-porous surfaces. | Prevents smudging by speeding up drying. |
| Medium | Most standard conditions. Highly recommended for pad printing. | Balances flow for ink transfer. |
| Slow | Hot weather (≥30°C / 86°F), fine details, large solid areas, large screens. | Prevents clogging (drying in the screen). |
Pro Tip: Always use the thinner recommended by your ink manufacturer. Mixing different brands can ruin the ink’s chemistry.
2. The Correct Thinning Ratio (By Weight)
Adding too little causes stringy, thick ink. Adding too much causes faded colors and poor coverage.
| Ink Type & Process | Recommended Ratio | Important Note |
|---|---|---|
| Standard Screen Printing | 10% – 15% | Start at 10%, add more if needed. |
| Pad Printing | 15% – 30% | Requires more thinner for proper flow from the pad. |
| 2-Component (2K) Ink | 10% – 20% | Add thinner after mixing ink + hardener. |
3. Critical Warning: Pot Life (For 2K Inks)
Once you mix a two-component ink (ink + hardener + thinner), you have a limited working time called Pot Life.
- Typical Pot Life: 2 to 4 hours.
- What happens after? The ink will thicken into a gel and become unusable.
- Action: Mix only what you need for a few hours. Never pour leftover mixed ink back into the original container.
Quick Tips for Daily Use
Too Thin? Colors look weak or edges are blurry → Add more fresh ink.
During Printing: As solvent evaporates, the ink will thicken. Add a few drops of thinner at a time to maintain the right viscosity.
Clean Up: Use Screen Cleaner (e.g., 718 Solvent) to clean screens and pads after printing.
Too Thick? Looks stringy or doesn’t transfer well → Add more thinner.
How to use Offset machine to print on plastic cup or plastic bowl?
Application of Offset Printing Presses on Disposable Plastic Cups & Bowls
The application discussed here refers to fully automatic, curved-surface dry offset printing presses. This technology is widely used in the food packaging industry to print high-speed, multi-color, and high-resolution brand logos and graphics directly onto pre-formed cylindrical or conical plastic containers.
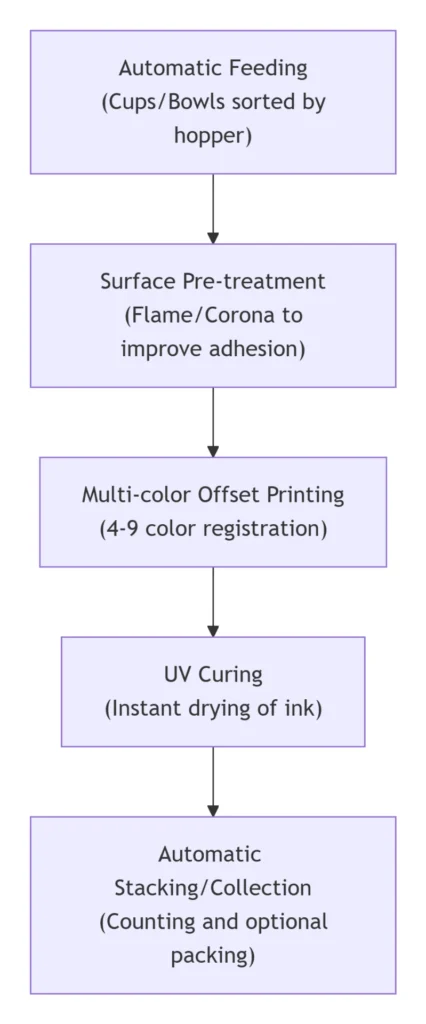
⚙️ Core Process Workflow
The entire printing process is fully automatic and integrated.
🏆 Key Advantages Over Other Methods (e.g., Screen Printing, Labeling)
For mass production of disposable tableware, dry offset offers several unique benefits:
- High-Speed Mass Production: This is its most significant advantage. Production speeds are extremely high, typically ranging from 250 to 550 units per minute for cups and around 350 units per minute for bowls. It’s ideal for large-volume orders.
- Vibrant Colors & Fine Details: Machines typically support 4 to 9 colors, enabling complex, multi-color graphics and fine halftone dots. Logos and text are sharp, clear, and full-bodied, generally superior to traditional screen printing.
- Excellent Ink Adhesion & Durability: Before printing, the machine automatically treats the plastic surface with an open flame or corona to modify surface tension, allowing the ink to bond strongly. The ink is instantly dried using UV (ultraviolet) light, making it highly scratch-resistant and less likely to peel off.
- High Automation & Intelligence: Modern presses integrate automatic feeding, double-cup / broken-cup detection (which rejects faulty items and protects the printing blanket), and automatic counting. This minimizes manual intervention and ensures consistent quality.
🛠️ Applicable Products & Materials
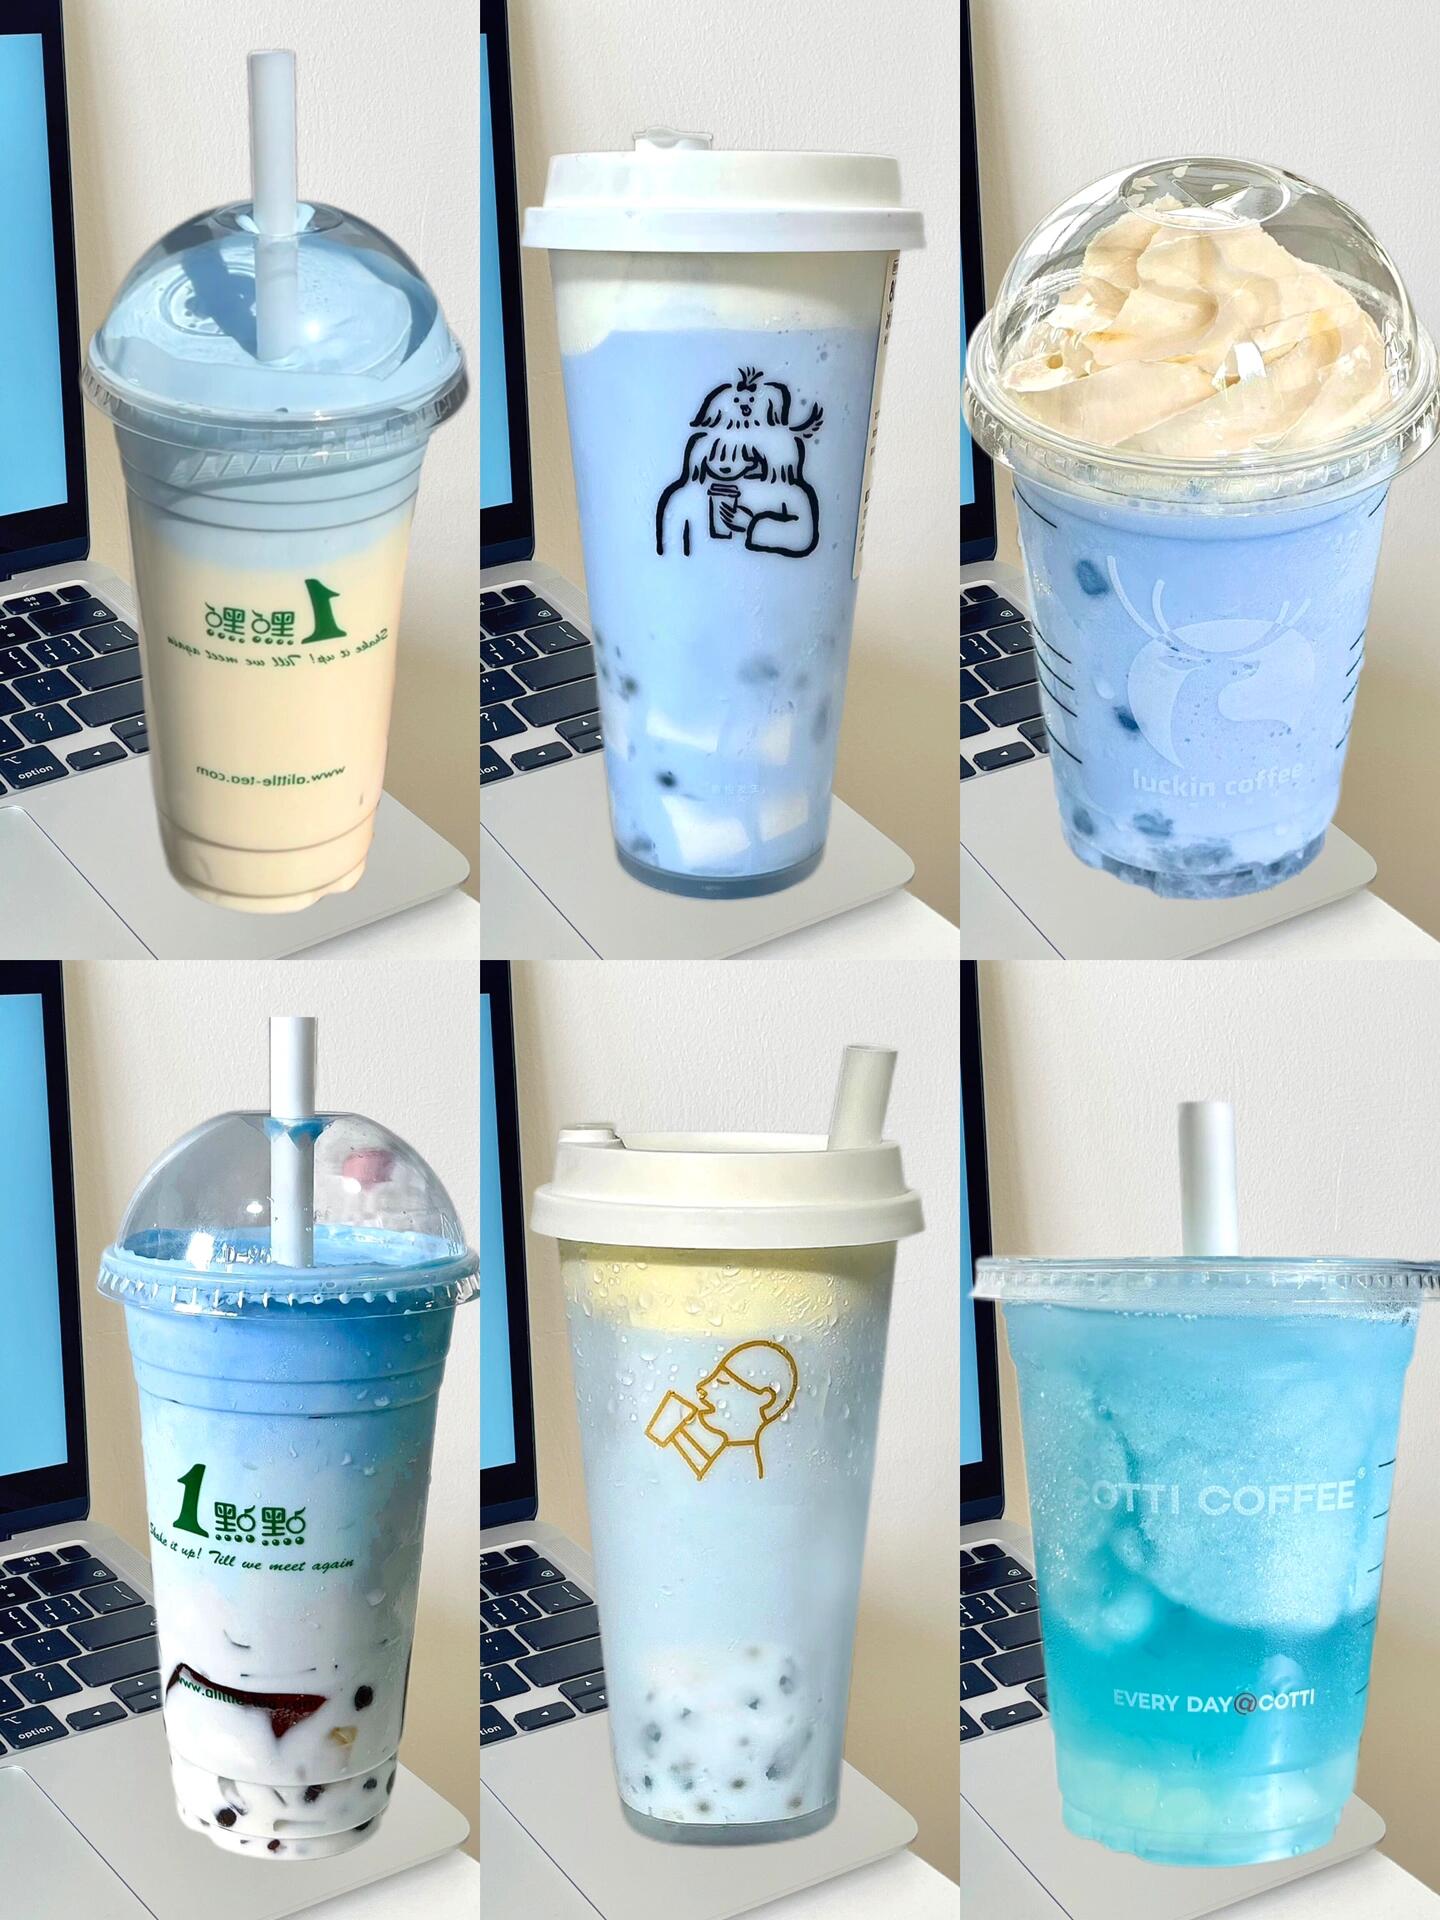
- Product Shapes: Primarily suitable for regularly shaped, cylindrical or simple conical containers. This includes bubble tea cups, coffee cups, yogurt cups, ice cream cups as well as bowls for yogurt or instant noodles. Machines are typically dedicated to either cup or bowl feeding systems.
- Applicable Plastics: Capable of handling the most common polymers in food packaging: PP (Polypropylene), PS (Polystyrene), PET (Polyester), PE (Polyethylene), and PVC (Polyvinyl Chloride).

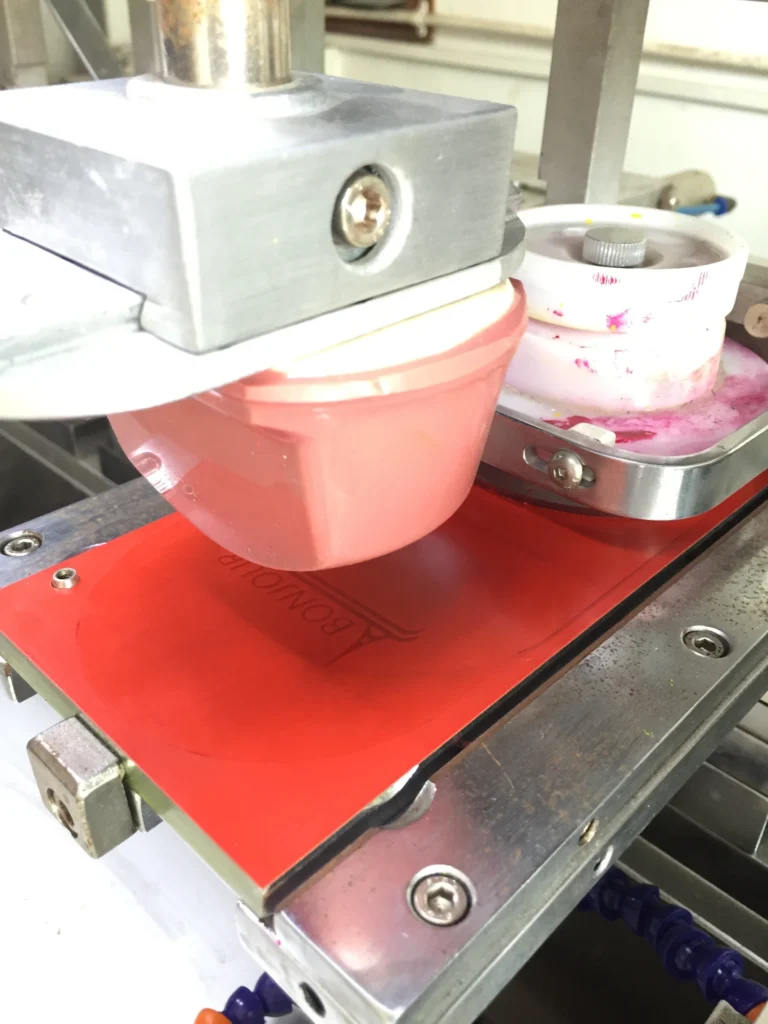
How to select right silicone pad for a pad printing machine?

The key is to find the best match between the shape, hardness, and material of the pad and your printed pattern, substrate shape, and ink type. There’s no single “best” pad — only the most suitable one for your application.
🎯 Step 1: Choose the Right Shape
The shape determines whether the pad can pick up the pattern and transfer it perfectly onto the workpiece. The printing surface of the pad should be 3–5 mm or 20–50% larger in diameter than the pattern.
- Pointed/Round pads: Best for fine, small-area patterns or uneven surfaces (e.g., electronic components). They conform well to dots or curved areas.
- Flat pads: Ideal for flat surfaces (e.g., nameplates, keyboards, large solid areas). They provide stable, even pressure.
- Curved/Long pads: Suited for cylindrical or long objects (e.g., pens, cups, rulers), conforming tightly to curved surfaces.
💪 Step 2: Determine Hardness (Shore A)
Hardness affects how well the pad adapts to uneven surfaces and how clearly it prints fine details.
| Hardness Range | Properties | Best For |
|---|---|---|
| Soft (e.g., 10–25°) | High flexibility, good conformity | Irregular surfaces (balls, bottle caps, concavities/convexities), large solid areas, rough/matte surfaces |
| Medium (e.g., 25–40°) | Balanced flexibility and rebound | General use, most flat or slightly curved surfaces (e.g., plastic housings) |
| Hard (e.g., >40°) | Low deformation, high precision | Fine patterns (small text, thin lines), flat surfaces (nameplates, CDs), high-speed printing |
Special note: For extremely fine lines, a soft pad actually picks up ink from the cliché more effectively.
🎨 Step 3: Material & Color
Pad color often indicates specific performance additives:
- Red: Excellent ink pickup and release. A good all-purpose choice, especially when air release is challenging.
- Blue: High solvent resistance and durability. Ideal for long production runs with solvent-based inks.
- Warm white/Off-white: Extremely soft with great elongation. Best for wrapping around irregular surfaces without tearing.
- Pink: Anti-static. Prevents static interference, ideal for fine precision printing (reduces fuzzing and ink splash).
⚙️ Step 4: Other Key Factors
- Rebound speed: How quickly the pad returns to shape. Faster rebound supports higher print speeds and consistent ink pickup.
- Solvent resistance: Critical when using aggressive solvents (e.g., acetone, alcohol). Low resistance causes swelling and premature aging.
- Surface preparation: New pads have mold release agents that repel ink. Always wipe with alcohol or pad cleaner before use.
✅ Practical Tips & Troubleshooting
Hard pads for fine details; soft pads for picking up fine lines.
Soft pads for irregular curves; hard pads for flat, crisp prints.
Always wipe new pads. Don’t exceed 1/3 compression depth.
Common issues & quick fixes:
- Blurry prints / Ink tails: Pad too soft or excessive compression depth.
- Incomplete pattern / Missing ink: Pad too hard, or surface contamination.
- Short pad life: Check for sharp workpiece edges or solvent attack. Switch to blue pad for better durability.
- Bubbles / Pinholes: Poor shape fit for air release, or compression speed too fast.
How many kinds of printing plate for pad printing machine?
| Plate Type | Key Advantages | Key Disadvantages | Best Application |
|---|---|---|---|
| Thick Steel Plate | Extremely durable; ideal for very high volume, heavy-duty production. High rigidity. | Difficult to manufacture, requires high-precision machines; generally lower precision for fine details. | Long-term, stable, large-volume orders where extreme detail is not required. |
| Thin Steel Plate (10mm thickness) | Best value for money; flexible enough to ensure good doctoring performance; the most widely used type. | Less durable than thick plates; requires a very flat backing to prevent ink leakage. | Most general-purpose applications, regular production needs. |
| Resin/Photopolymer Plate | Highest print precision; excellent for fine dots and complex images. Eco-friendly processing (alcohol development). | Not durable; only suitable for small to medium volumes. Demands high precision from the pad printer. | High-quality, fine-detail jobs, short runs, prototyping, for companies with environmental requirements. |
| Laser-Engraved Plate | Very fast turnaround (15-30 minutes); no chemical waste; highly flexible digital workflow, easy revisions. | High equipment investment cost; etched groove edges have a natural slope, which can slightly affect the sharpness of ultra-fine lines. | Prototyping, short-run/multi-variety jobs, frequent design changes, areas with strict environmental regulations. |
💡 Additional Notes
Laser Detail: The groove edge created by laser engraving has a natural slope (approx. 60-75°). This has a negligible effect on most designs, but theoretically, the steeper 85-90° edge of etched plates reproduces extremely thin lines better.
Thin vs. Thick Steel Plates: Today, 0.3mm or 0.5mm thin steel plates are mostly used with ink cup pad printing machines, while thicker 10mm plates are typically used with ink tray (open inkwell) machines.
Environmental Trend: Traditional steel plate etching involves chemical waste, which is banned in regions like Europe. Therefore, eco-friendly resin and laser-engraved plates are the future direction.

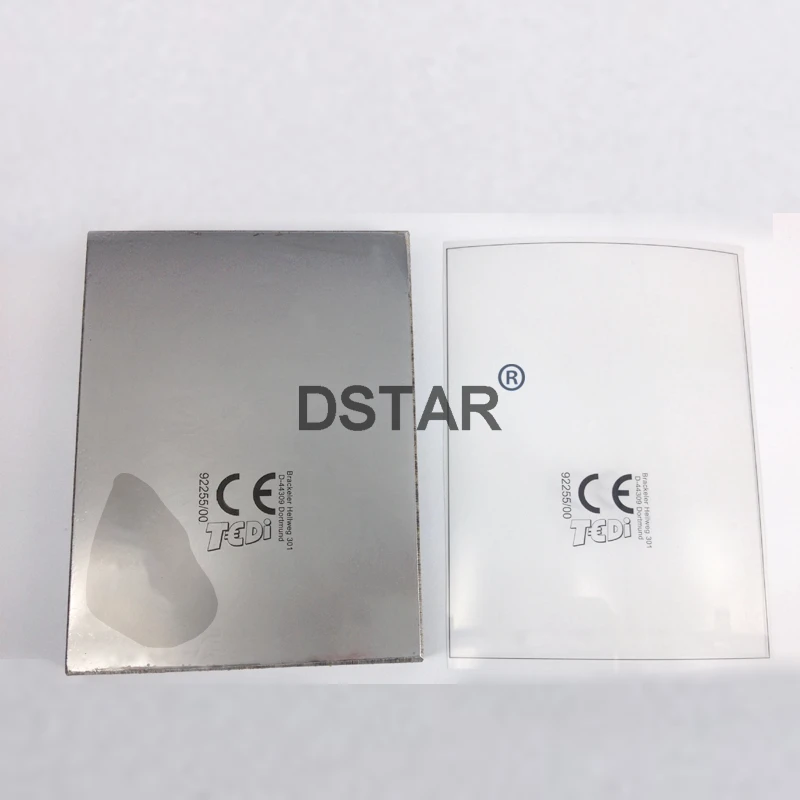
How to etch logo on steel pad printing plate?
Etching patterns on thin or 10mm steel plates is a core step in pad printing plate making. This “steel plate” serves as the master plate in pad printing—all patterns to be printed must first be precision-etched as recessed cavities on its surface.
Below is a clear step-by-step guide for etching pad printing plates. The process is essentially the same for both thin plates and 10mm thick plates, with only minor differences in material selection.
⚙️ Core Steps for Etching a Pad Printing Plate
| Step | Operation | Key Notes |
|---|---|---|
| 1. Clean the Plate | Thoroughly clean the steel plate with a degreaser to remove oil and dust, then blow dry. | Critical: Ensure the surface is completely contaminant-free, or the photoresist won’t adhere properly. |
| 2. Apply Photoresist | Coat the photoresist evenly onto the plate surface, then oven-dry (e.g., 15 min at 150°C) or air-dry in darkness. | Critical: The coating must be uniform—thickness directly affects exposure results. |
| 3. Expose | Place the positive film with your pattern on top of the photoresist layer, then expose using a UV exposure unit. | Principle: UV light hardens the photoresist in areas not covered by the pattern. |
| 4. Develop | After exposure, rinse the plate with developer solution. The unhardened photoresist (under the pattern area) washes away, exposing bare metal. | Result: The pattern area is now bare metal, ready for etching. |
| 5. Etch | Submerge the developed plate in etchant solution (e.g., ferric chloride or hydrochloric acid) to corrode the exposed metal, forming recessed cavities. | Etching time and temperature determine depth. Typical depth is around 0.025mm. |
| 6. Remove Resist | After etching, use a specialized resist remover (e.g., 5% NaOH solution) to strip away the remaining hardened photoresist layer. | At this point, you have a completed steel plate with recessed patterns. |
🤔 Thin Plate vs. 10mm Thick Plate – Which to Choose?
The process is identical, but practical applications differ significantly:
- Thin Plate: Typically under 2mm thick, some are as flexible as tin foil. Advantages: Lower cost, flexible to change—ideal for small batches or many different patterns. Disadvantages: Lower precision and durability; prone to wear and deformation over time.
- 10mm Thick Plate: A “heavy-duty” plate. Advantages: Extremely durable, rigid, and stable—maintains etching precision and consistency over long, high-volume production runs without warping. Disadvantages: Higher cost and heavier weight.
How to choose? If you have high-volume, long-running production and need high precision and stability, go with the 10mm thick plate. For small trial runs or budget-conscious projects, the thin plate is more economical. Regardless of your choice, use high-quality steel to ensure surface flatness and durability.
💡 Key Tips for Successful Etching
Plate Maintenance: Clean the plate immediately after production, dry it, and apply rust-preventive oil. Proper storage dramatically extends plate life.
Depth Control: Etch depth is typically around 0.025mm and should not exceed 0.03mm. Deeper cavities may cause pattern distortion or ink spreading during transfer.
Edge Margin: Keep patterns at least 15mm away from the plate edge to allow proper clamping and ink doctoring.
Development & Etching: Develop thoroughly—no residual resist should remain in the pattern area. During etching, agitate the container or plate constantly to ensure fresh etchant contacts the surface, resulting in uniform cavity depth.