Automatic Printing Machine Manufacturer
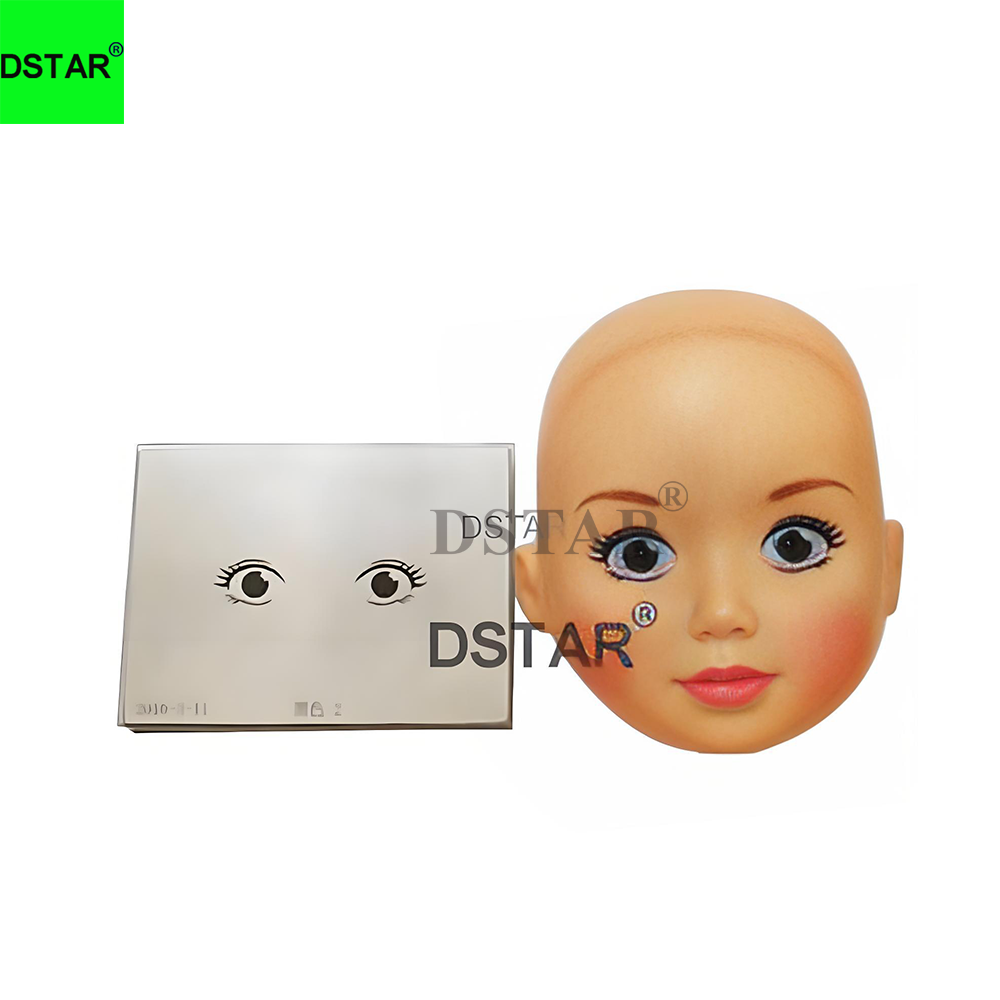
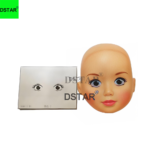
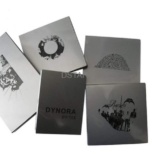
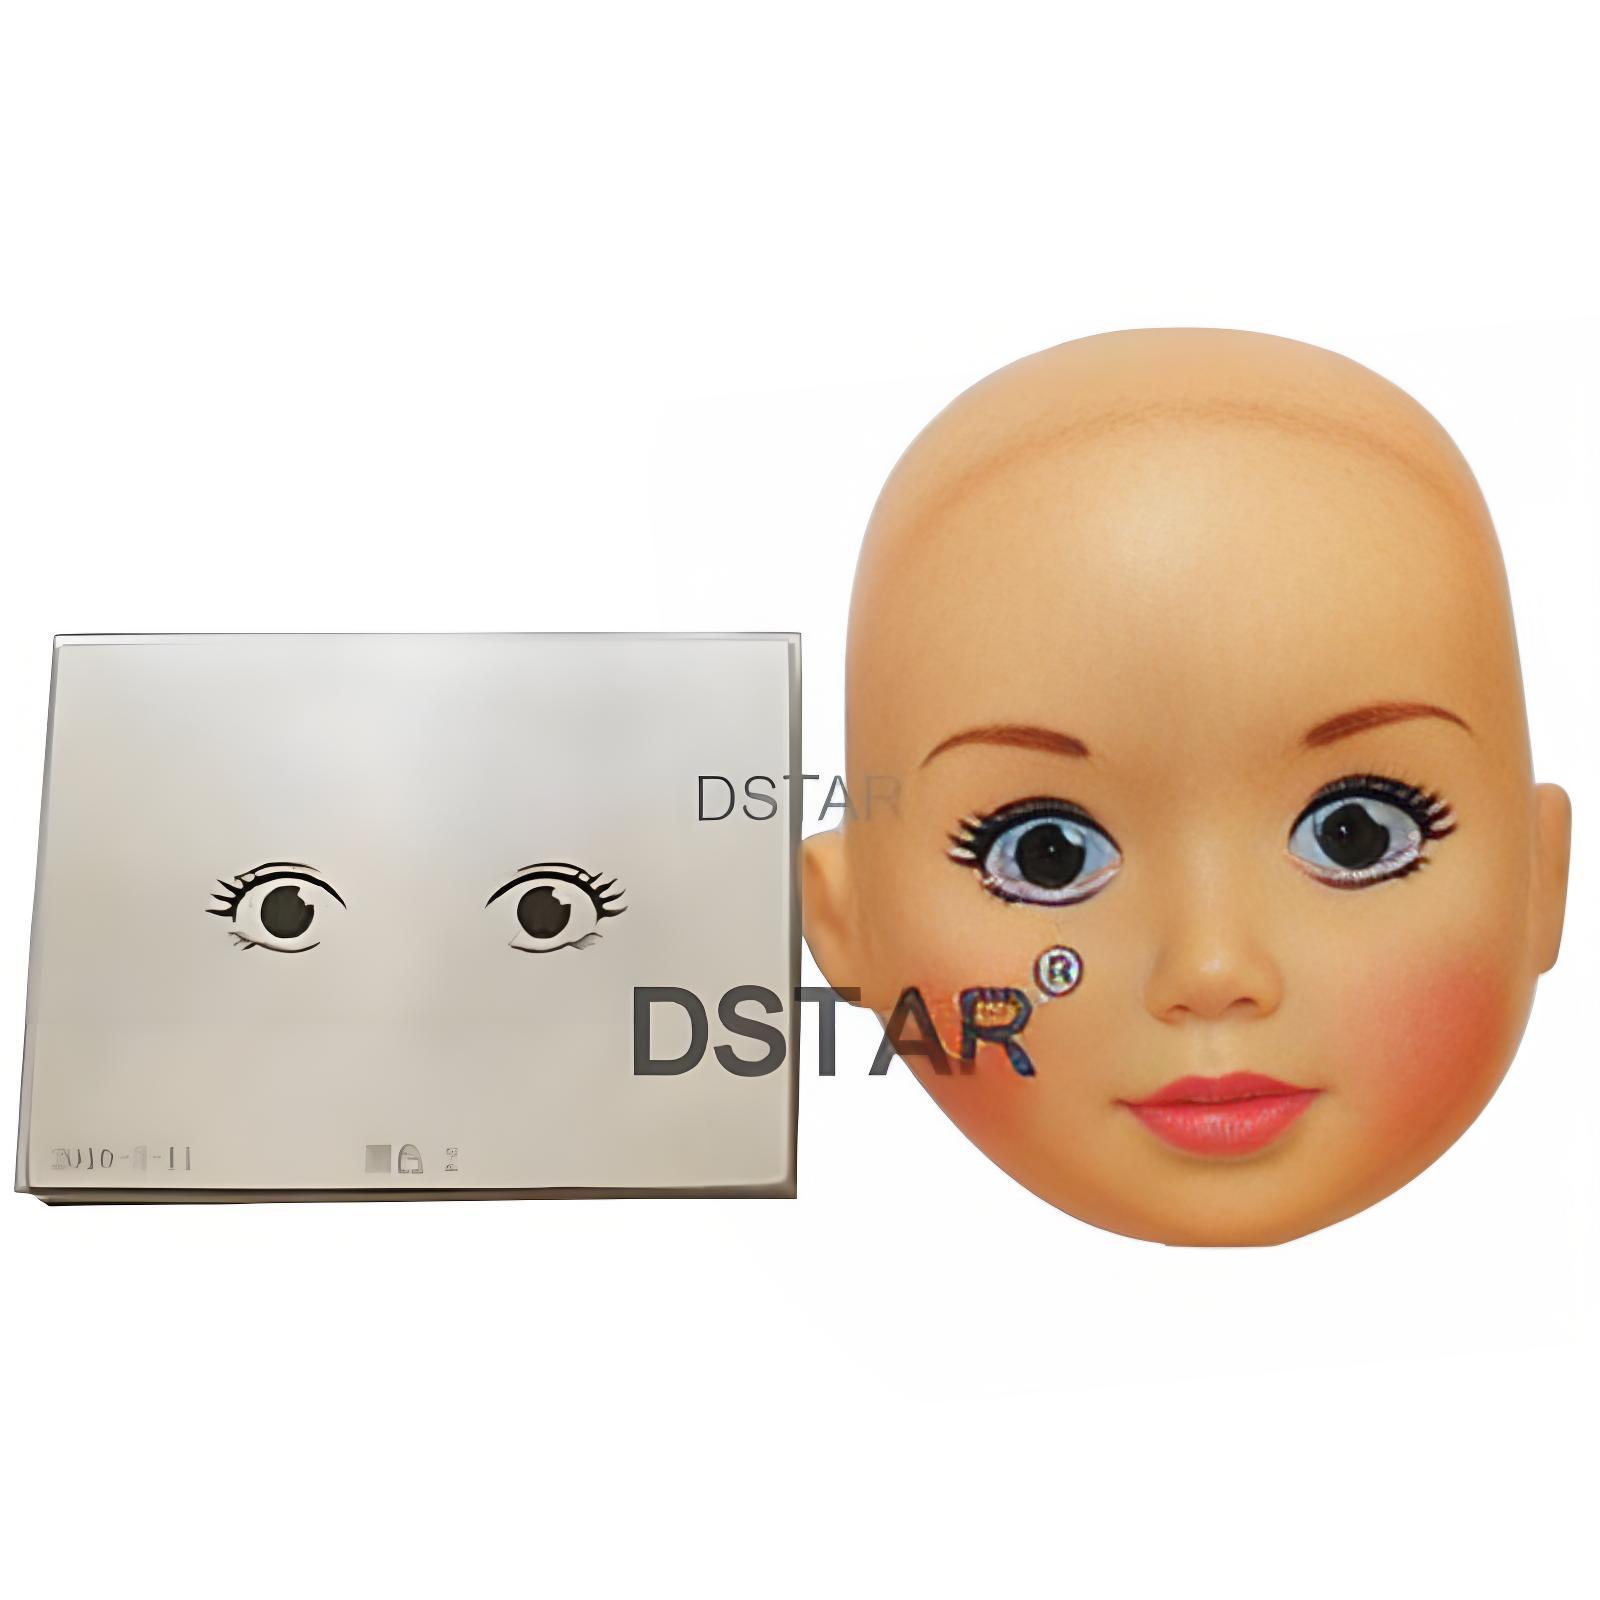
Steel Printing Plate for Pad Printing Machine


PRODUCT PARAMETERS
Description
Thickness 10mm Metal Steel Printing Plate for Pad Printing Machine
Plate Data Sheet
| Product | Steel Printing Plate for Pad Printing Machine |
| Brand | DSTAR |
| Material | Steel |
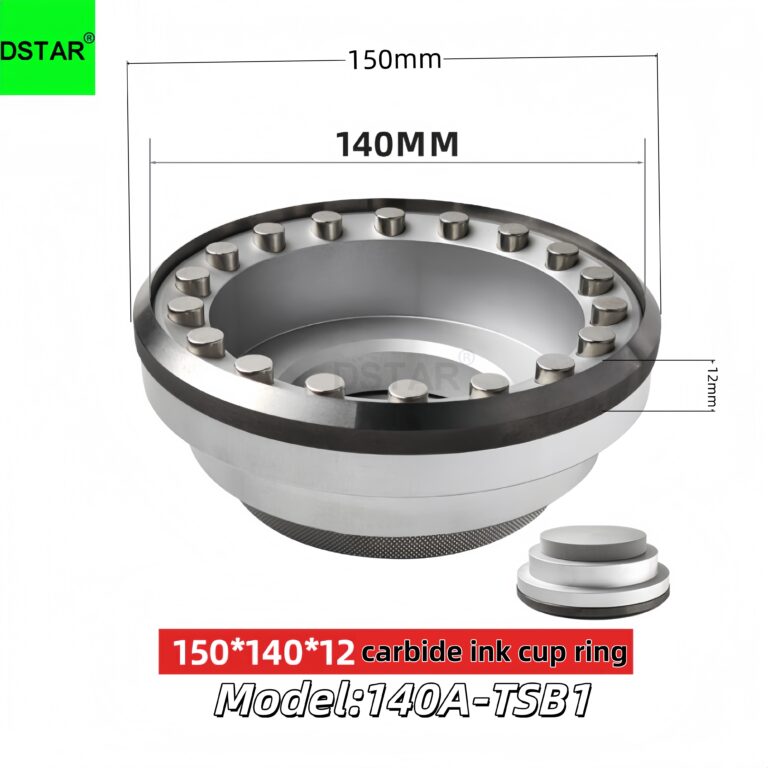
| Plate size | 10*100*100mm 10*100*150mm 10*100*200mm 10*150*150mm 10*200*200mm |
| Thickness | 10mm |
| MOQ | 1PC |
| Packing | Carton |
How to make the pattern on the steel printing plate for pad printing machine?
- First, pre-treat the steel plate (blank plate) using a specialized steel plate treatment solution to remove any oil or grease from the surface; subsequently, wipe off the treatment solution using a cotton cloth.
- Apply two drops of photosensitive emulsion onto the steel plate surface, allowing it to spread evenly across the entire plate area. Then, place the steel plate in a dark environment, tilting it at a 45-degree angle to allow it to air-dry naturally (this takes approximately 15 minutes).
- Place the film negative (artwork transparency) onto the dried steel plate and flatten it using a 5 cm square piece of clear glass. Next, expose the plate under a Philips 125W lamp for a duration of 90 to 120 seconds. Once the exposure is complete, carefully remove the glass and the film negative.
- Proceed to develop the exposed photosensitive steel plate. The development method is as follows: prepare a small basin of developer solution, then use a spoon to evenly pour the developer over the photosensitive emulsion to initiate the developing process (this takes approximately 20 to 40 seconds). Afterward, rinse the plate thoroughly with clean water and dry it using a brush-style dryer.
- Inspect the plate surface for any pinholes (tiny imperfections); if any are present, fill them in using a small amount of photosensitive emulsion and perform a brief touch-up exposure for a few seconds.
- Once the pad printing plate has been developed, apply a single drop of etching solution onto the steel plate and gently rub it in using a cotton swab (this takes approximately 20 to 30 seconds). Subsequently, rinse the plate thoroughly with clean water.
- Finally, use the treatment solution to completely wipe away any remaining photosensitive emulsion from the plate surface.
- We offer professional etching and production services for pad printing steel plates (printing plates). If you require these services, please feel free to contact us at any time. Additionally, please provide your design artwork files.
- For design artwork files, we recommend using CDR, PDF, or AI formats.


Origin manufacturer
Professional and Rigorous full-process service
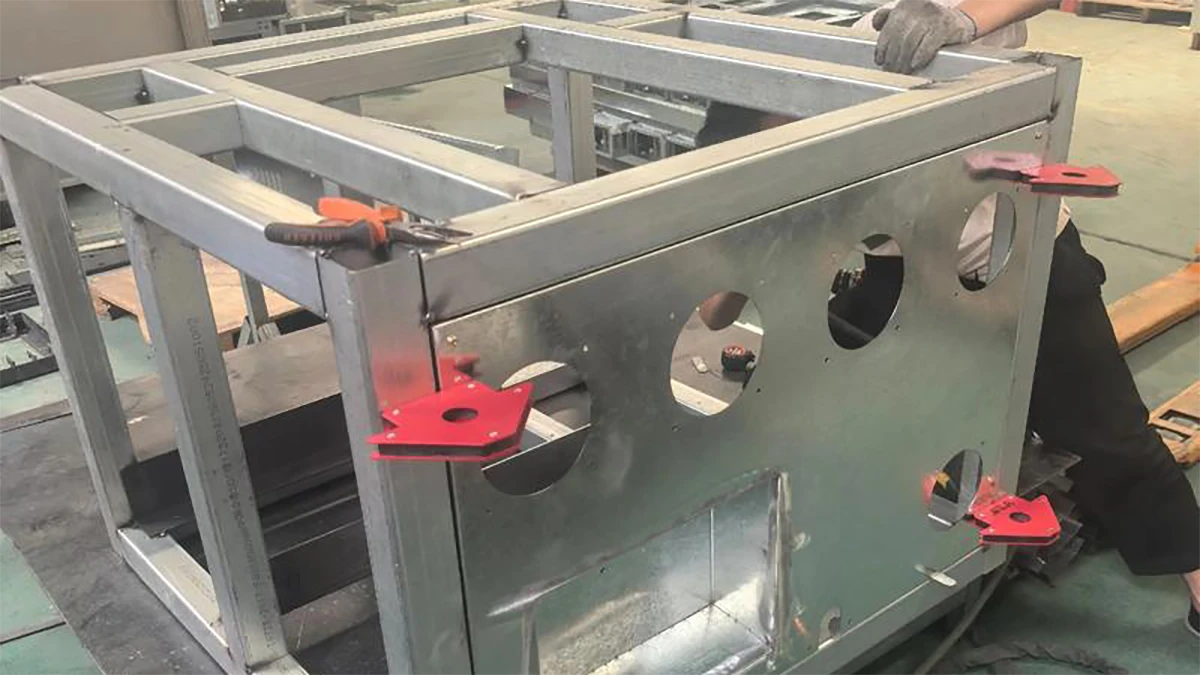
Welding & PaintingStable Machine Constructure frame and beautiful appearance(OEM color acceptable)
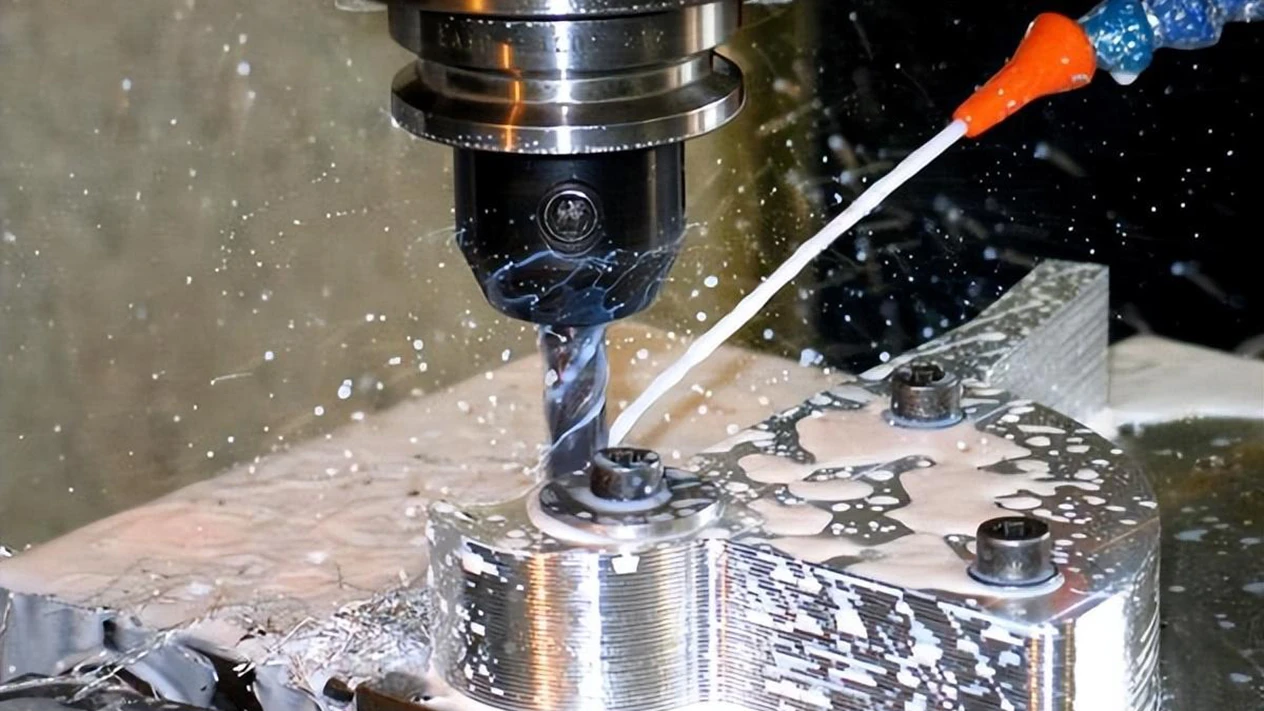
CNC processingCNC precision, micron accuracy.Every parts must be precise to ensure entire quality.

Milling ProcessingPrecision cutting of planes, grooves, gears for multi-dimensional shaping.
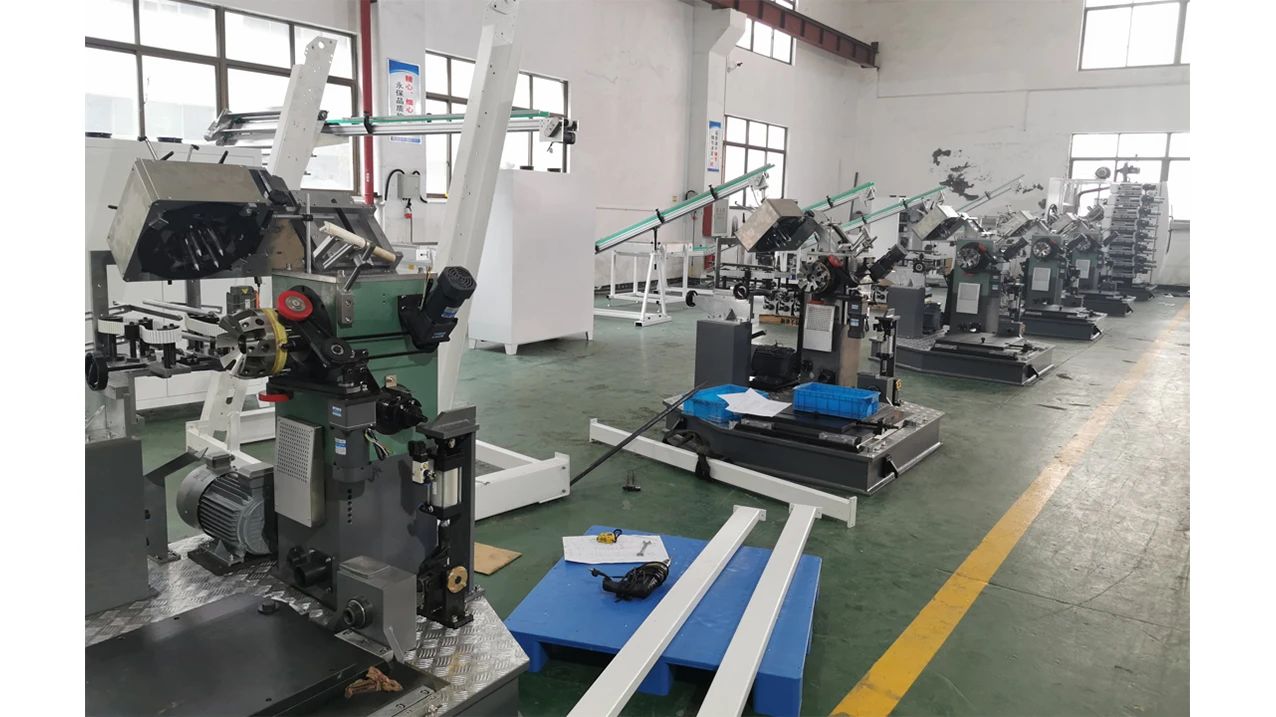
AssemblySystematic fitting of precision parts per blueprints to ensure structural integrity.
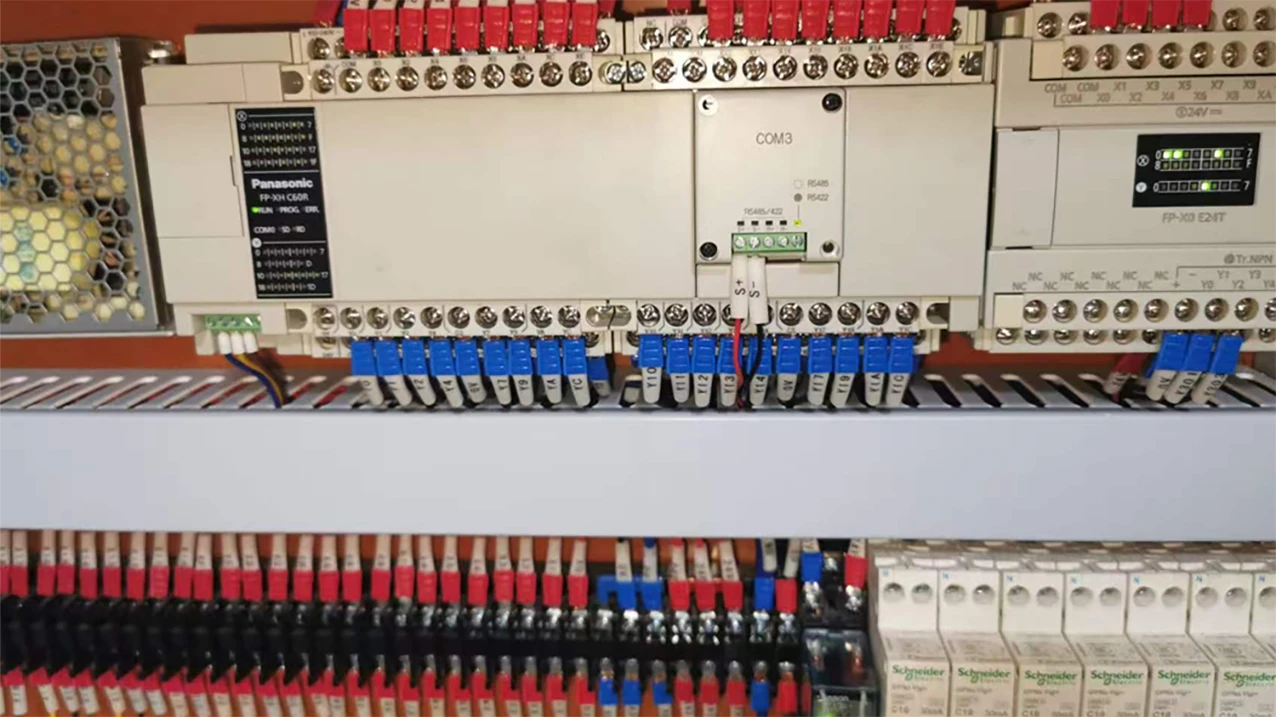
ProgrammingCE standard Circuit wiring, component mounting and multi language
RTSWooden case packing for shipment
PRMachine Video
FFocus On Printing Machine
TQuality & Service Exceed Expectation
LeAutomatic Printing Machine to enhance production efficiency